A few days ago I received an email from B.S. asking when I would begin posting more fruit series paintings for sale on DailyPaintworks. Also, I've received many nice responses to my Studio Workshops from students who live too far away to come for only one day. So, I'm combining these two communications into posts on this blog showing how I paint a fruit painting from beginning to end.
You can paint along with me! When the painting is complete, it will go to my Daily Paintworks Gallery and to Etsy for purchase.
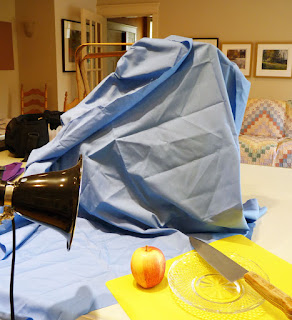 |
To begin, I need a reference photo of my subject -
this time an
apple. |
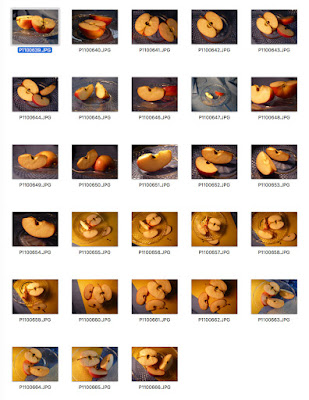 |
| I take many photos! |
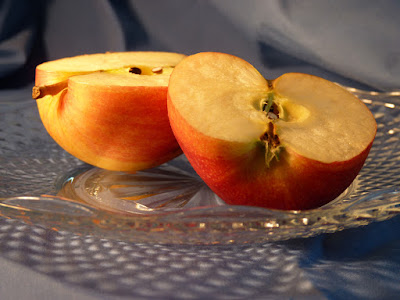 |
This is the first photo I shot.
Next, I'll adjust it in Photoshop. |
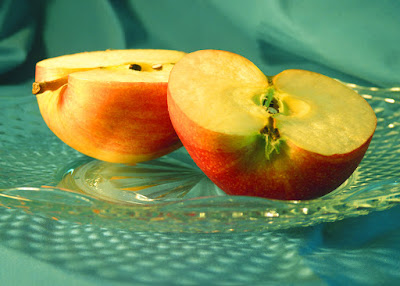 |
| I adjust the image to a more pleasing (and inspiring) hue. |
1. Using PhotoShop Elements, I resize the image (uncheck "constrain image") to the same dimensions that I will paint, in this case, 5x7 inches.
2. In Levels mode, I adjust the RGB colors.
3. In Hue and Saturation I make further adjustments.
Next, I'll print the image in 5x7 format on glossy photo paper. I'll use this as my reference photo when I go to the easel.
If you grab your smartphone or camera, a piece of fruit, a knife and a strong light you can take your own photos now to paint along with me. See you tomorrow...


No comments:
Post a Comment